
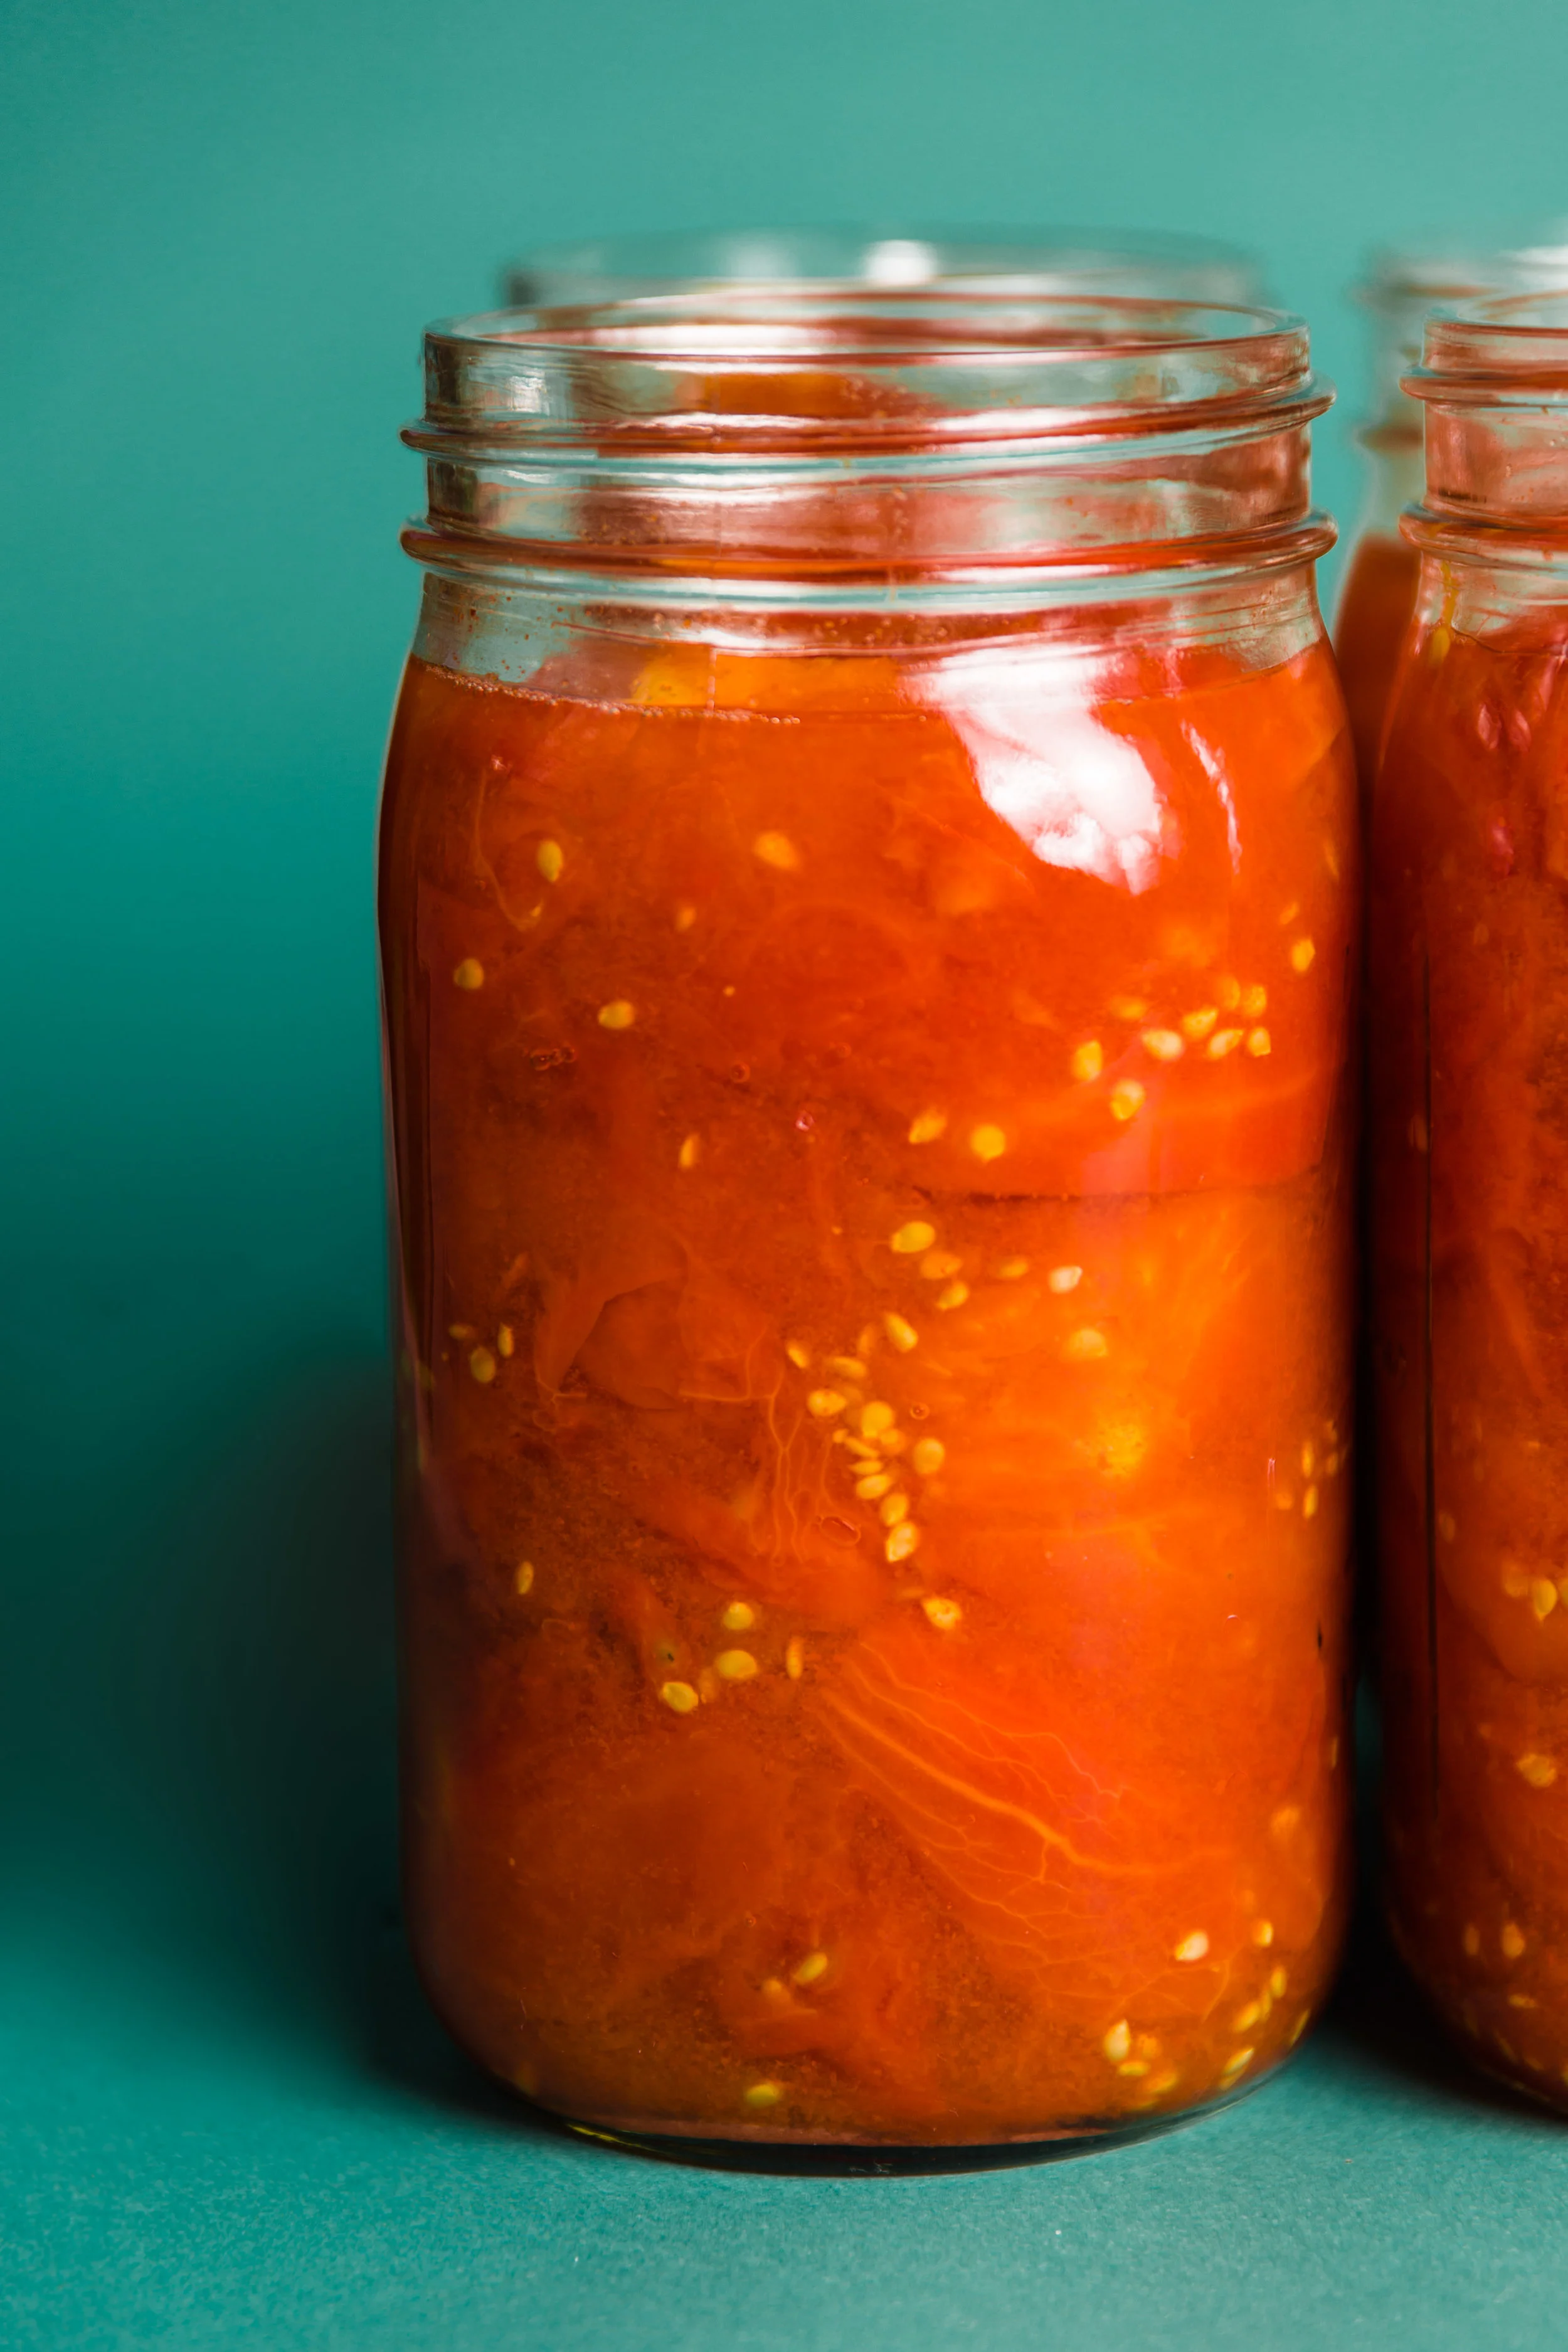
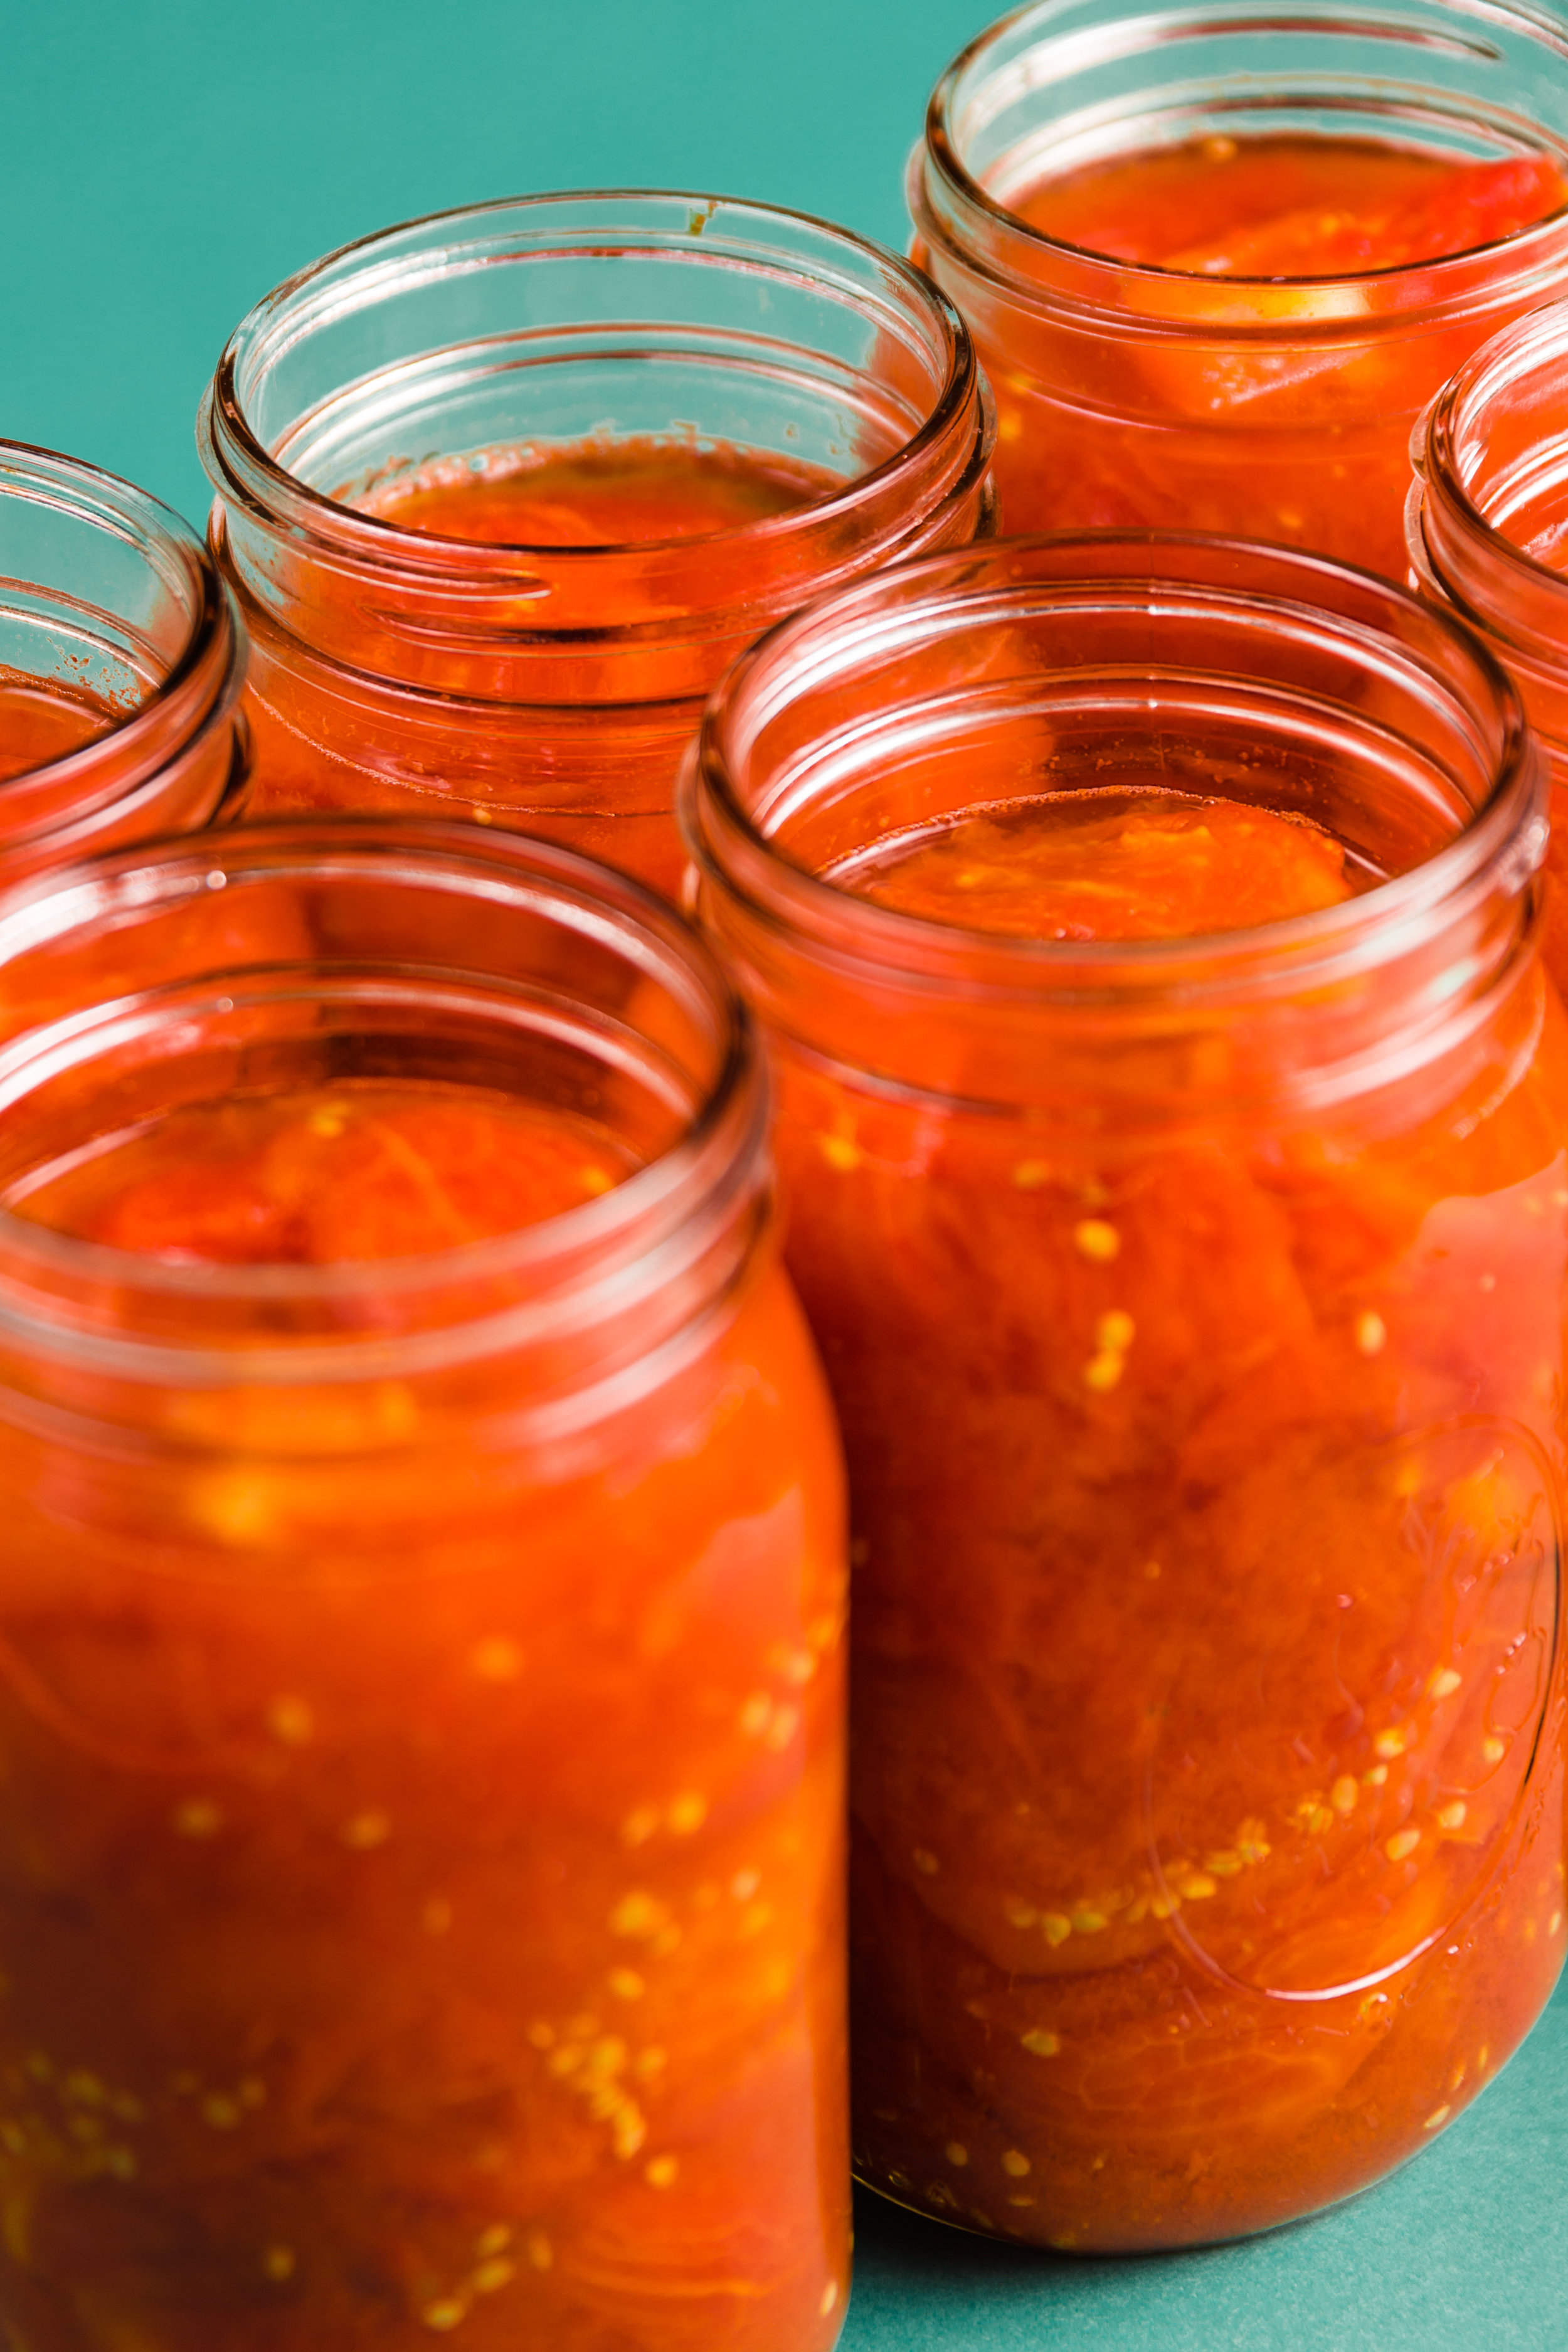
Tomatoes in Jars
In Eastern North Carolina it's tomato season and for many Southerners that means it's preserving season. There’s nothing much better than eating a home canned tomato that tastes as fresh as the day it was picked in the middle of a grey February day.
"I call these Tomatoes in Jars because to equate them with tomatoes preserved in aluminum cans would be misleading. 'Canning' tomatoes, as we call preserving them here, is just about the most rewarding and useful thing you can do all summer. I'm obsessed with it. The way home-canned tomatoes taste next to those that have been sitting in a can for God knows how long is motivating all on its own. Tomatoes you preserve yourself also have less sodium and fewer preservatives and none of the scary stuff that leaches out of aluminum cans.
"There are two schools of thought when it comes to canning tomatoes. A lot of people recommend paste tomatoes. These are varieties like Roma, Amish Paste, and San Marzano. They are obvious candidates because they are meaty, not juicy, and have a high acid content. But I'm a fan of including tomatoes I enjoy eating raw. Yes, you will end up with jars that have a lot of tomato juice in them, but I like that. It tastes good. So for what it's wroth my favorite combination is half Amish Paste, half Cherokee Purple. If you're able to put these together, it'll feel spiritual.
"The recipe here is for preserving moderately seasoned, barely cooked tomatoes in a sealed glass jar. That's the way the country cooks of Eastern North Carolina did it. Those jars rarely turned into spaghetti sauce. Instead, they became the base for things like Tomato Chicken Macaroni (page 268) and Tomatoes and Rice (page 269)."
— Vivian Howard, Deep Run Roots, page 264

Ingredients
10 pounds tomatoes of your choice
½ cup plus 1 tbsp lemon juice
3 tbsp salt
3 tablespoons granulated sugar
Makes 9 pints or 4 ½ quarts
Note: You can use whatever size jar you like here, but I recommend wide-mouthed jars over their narrow-mouthed brethren for just about everything but storing toothbrushes
DIRECTIONS
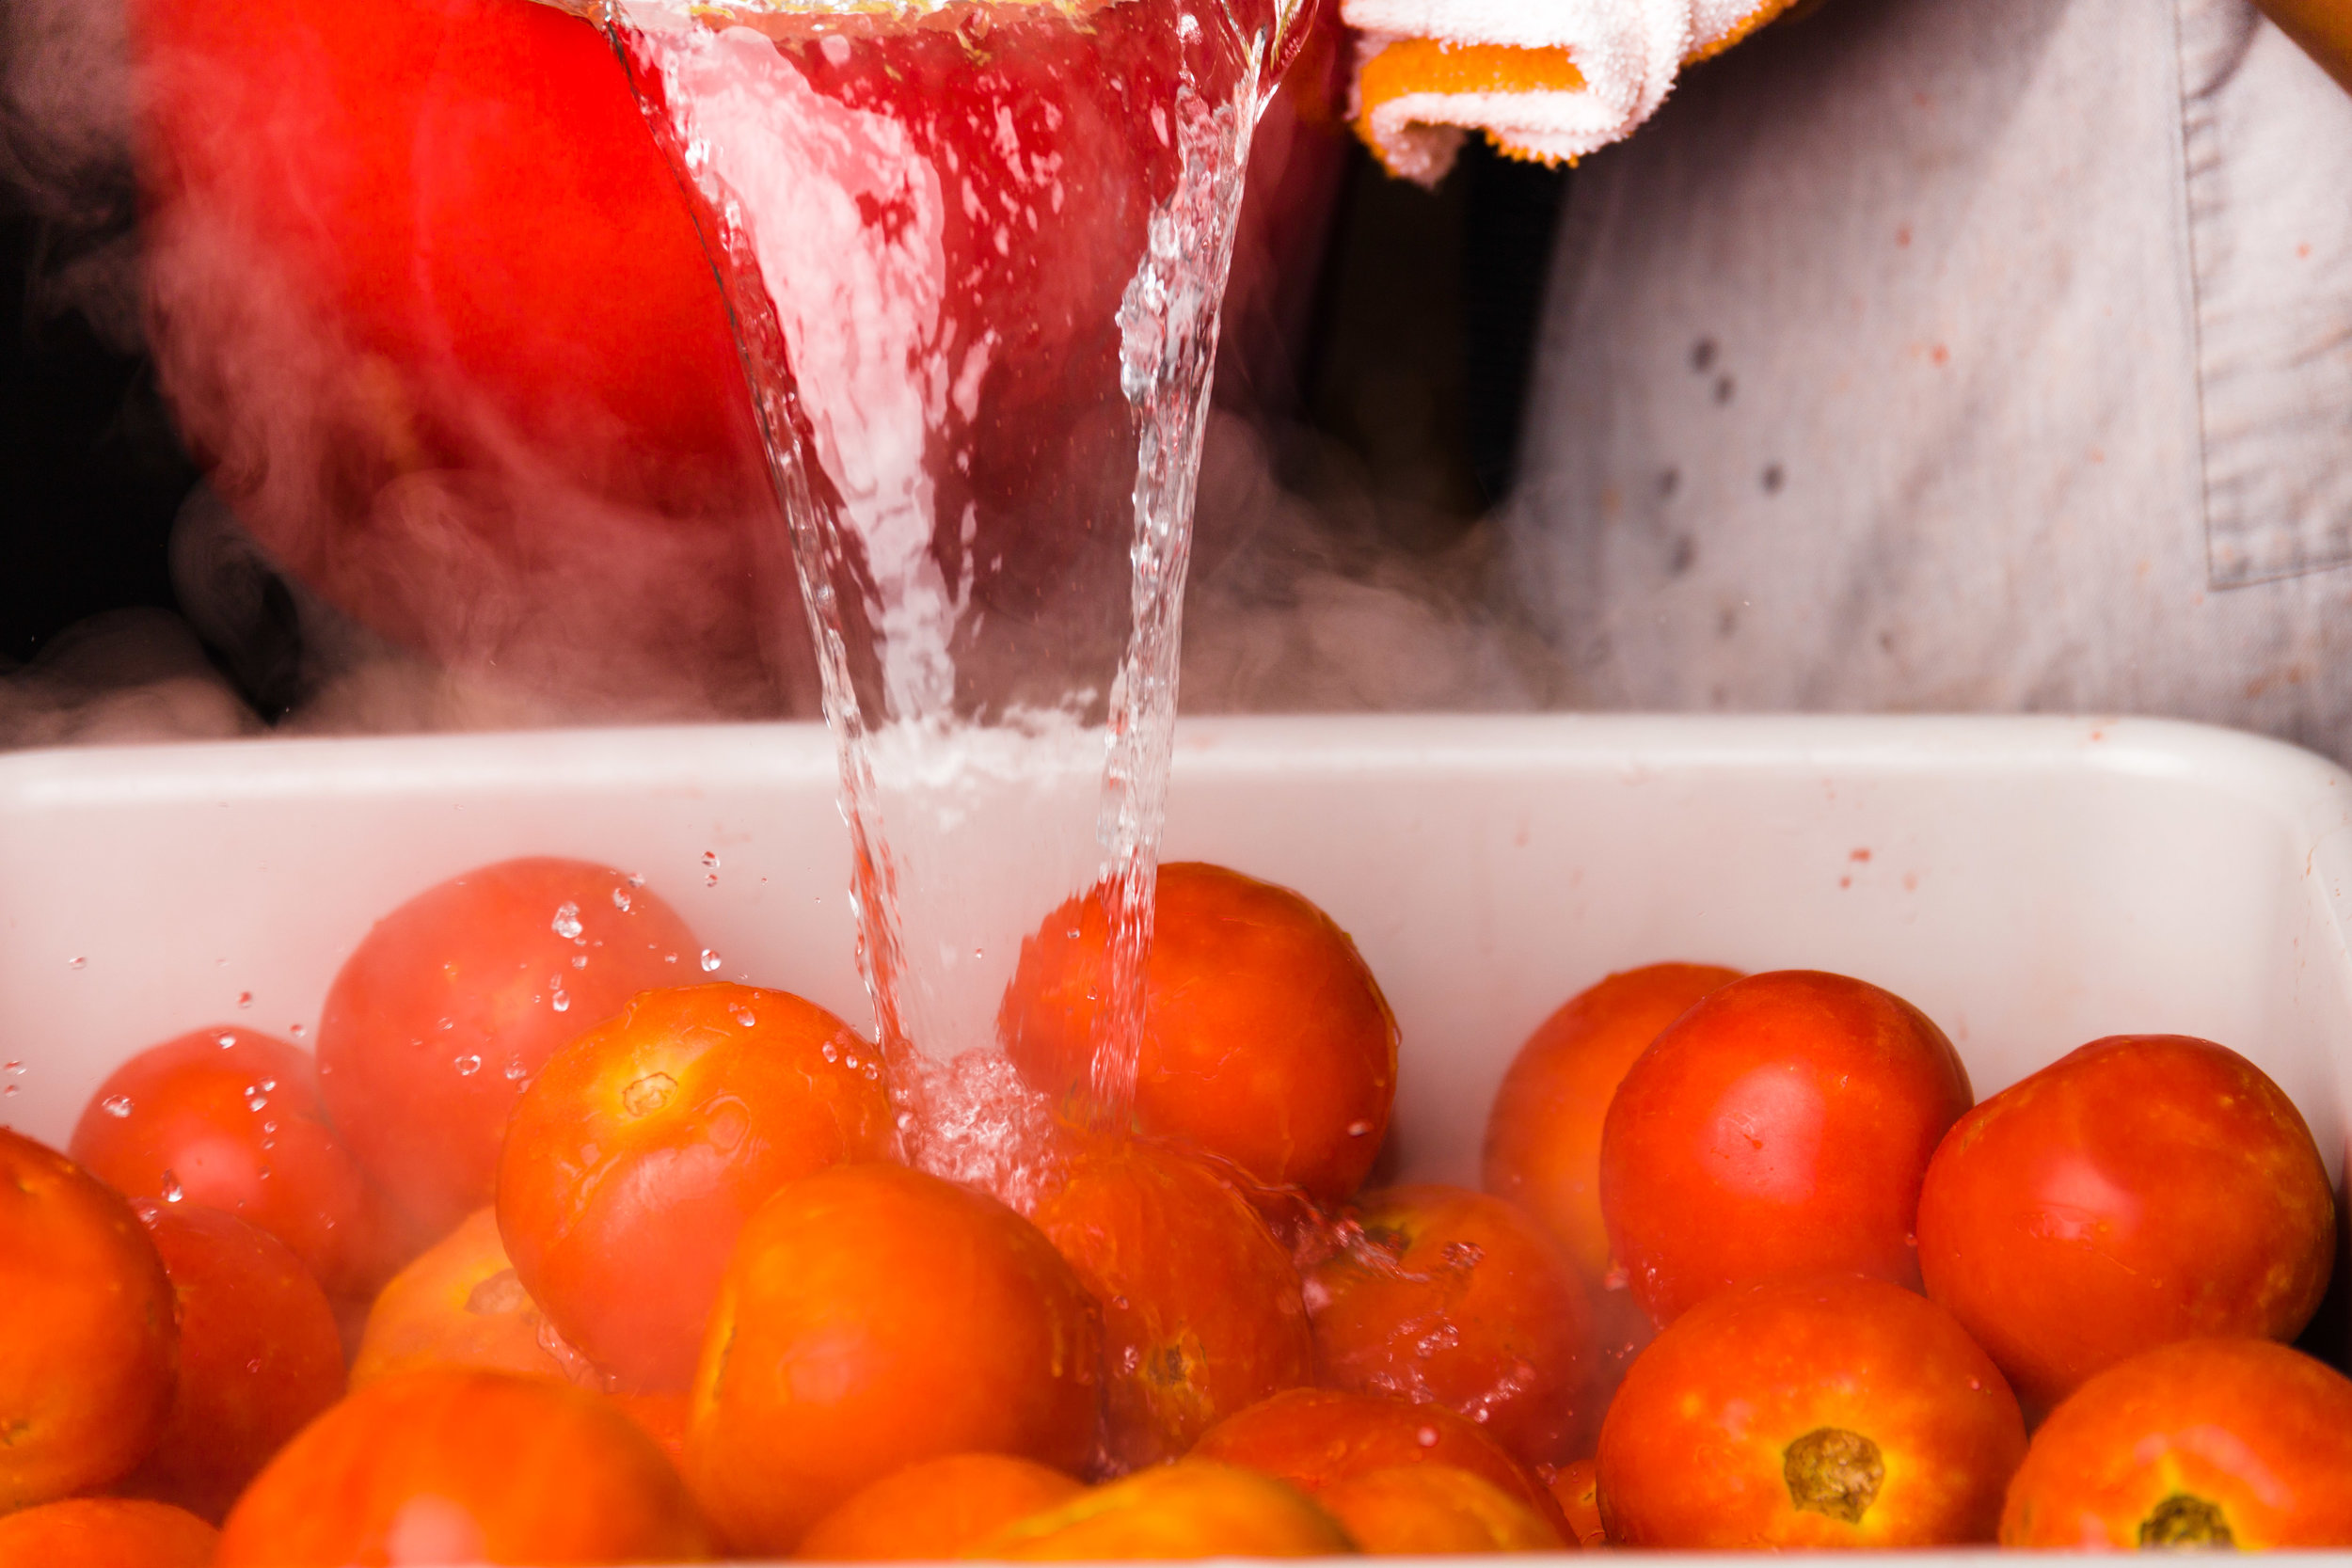
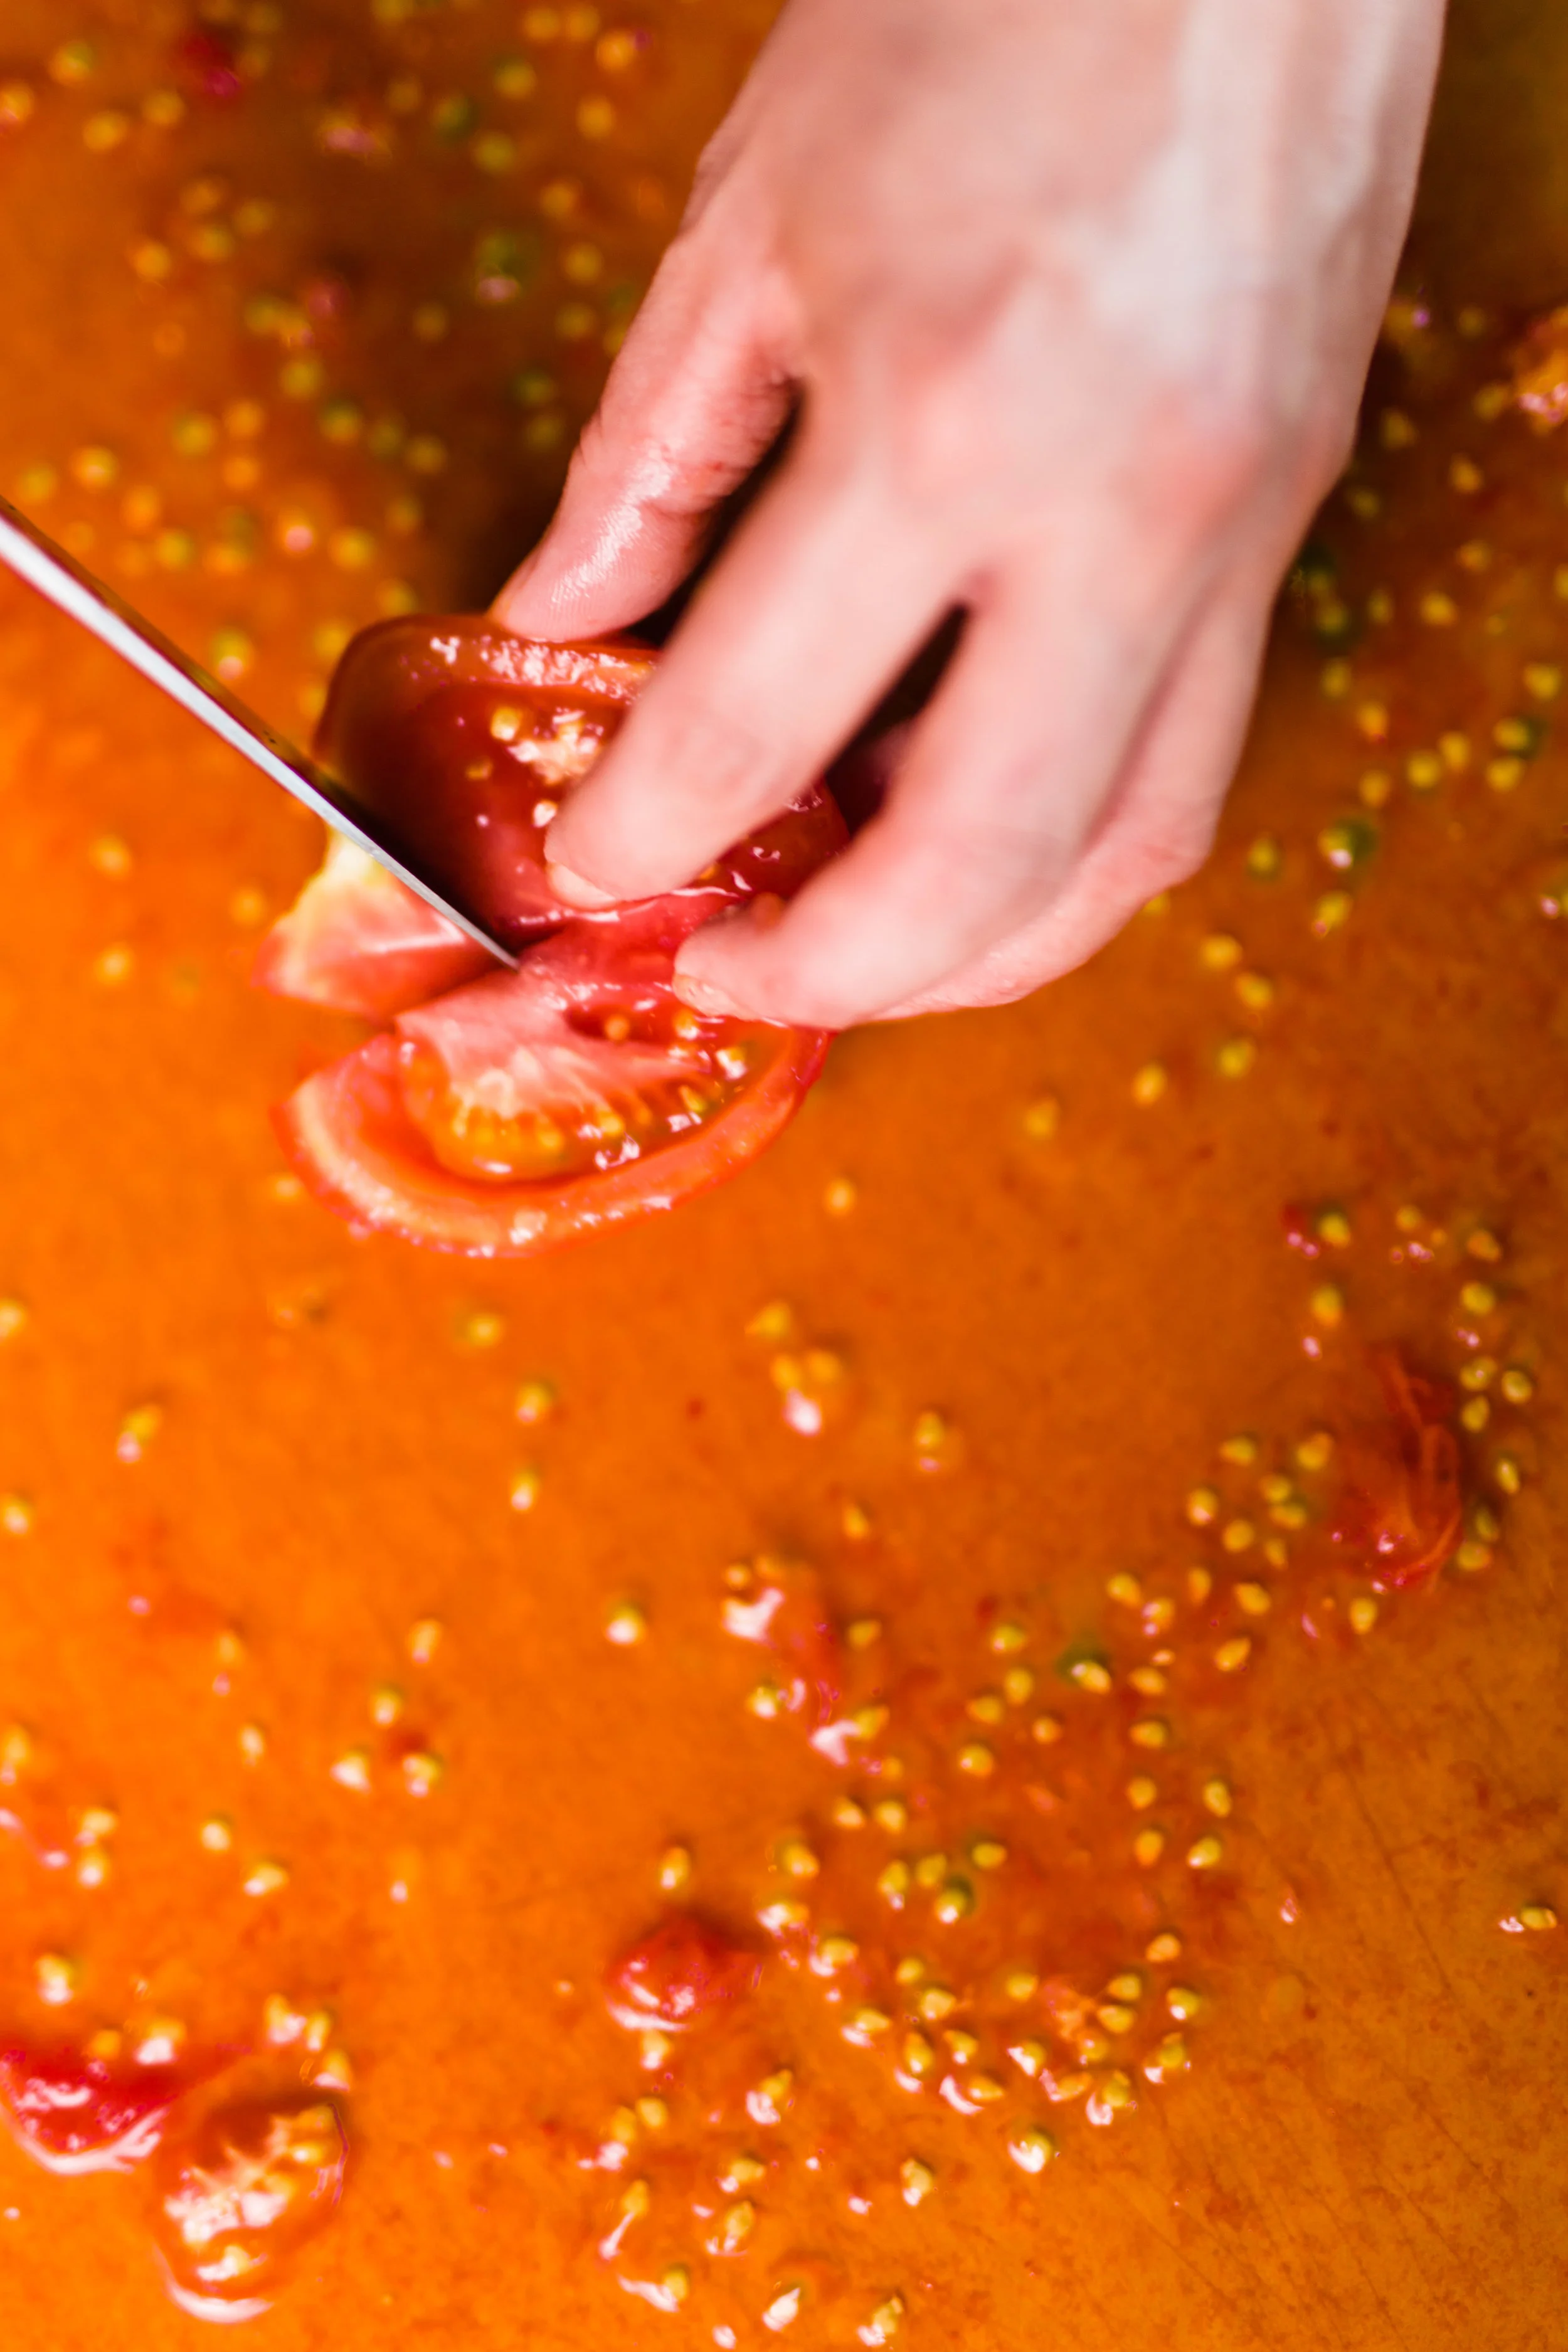
Bring a large pot of water up to a rolling boil and set up an ice bath nearby. Make a slit in the bottom of each tomato with a knife and drop about 5 tomatoes at a time in the boiling water. Let the water come back to a boil and cook the tomato for about 45 seconds, or until you see their skins start to split. Using a slotted spoon or spider, transfer the tomatoes to the ice bath. Follow up with the other remaining tomatoes.
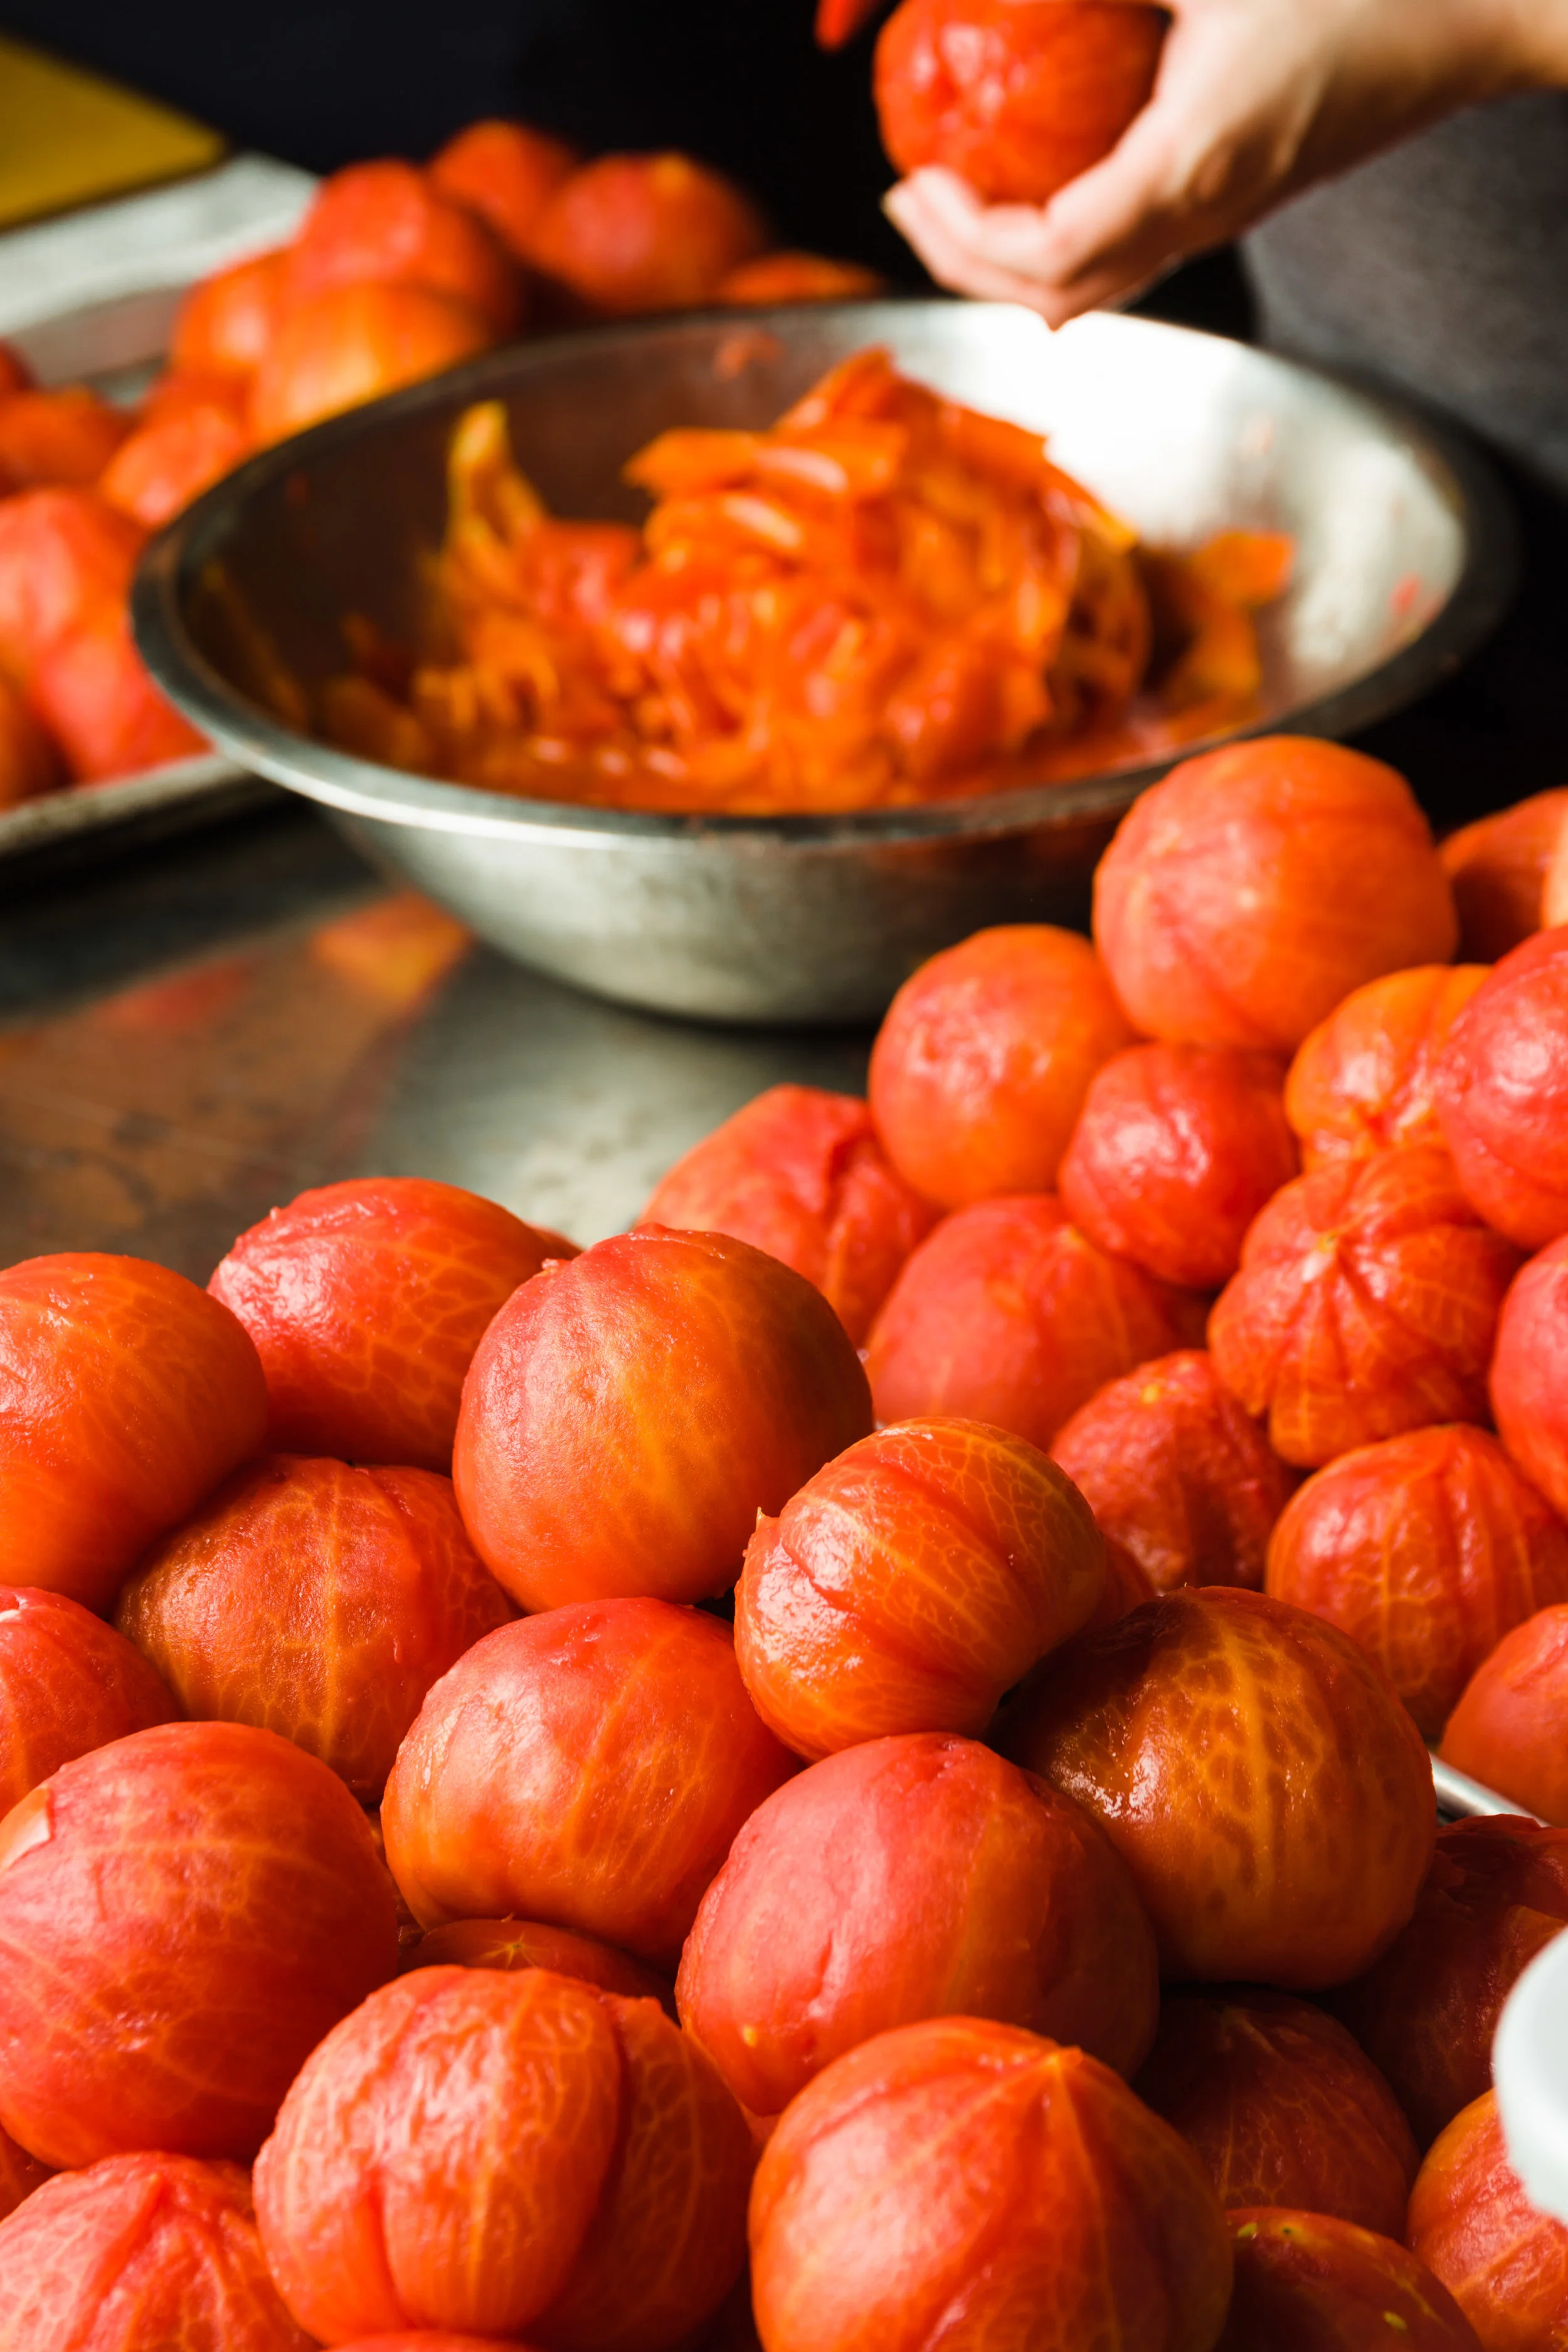
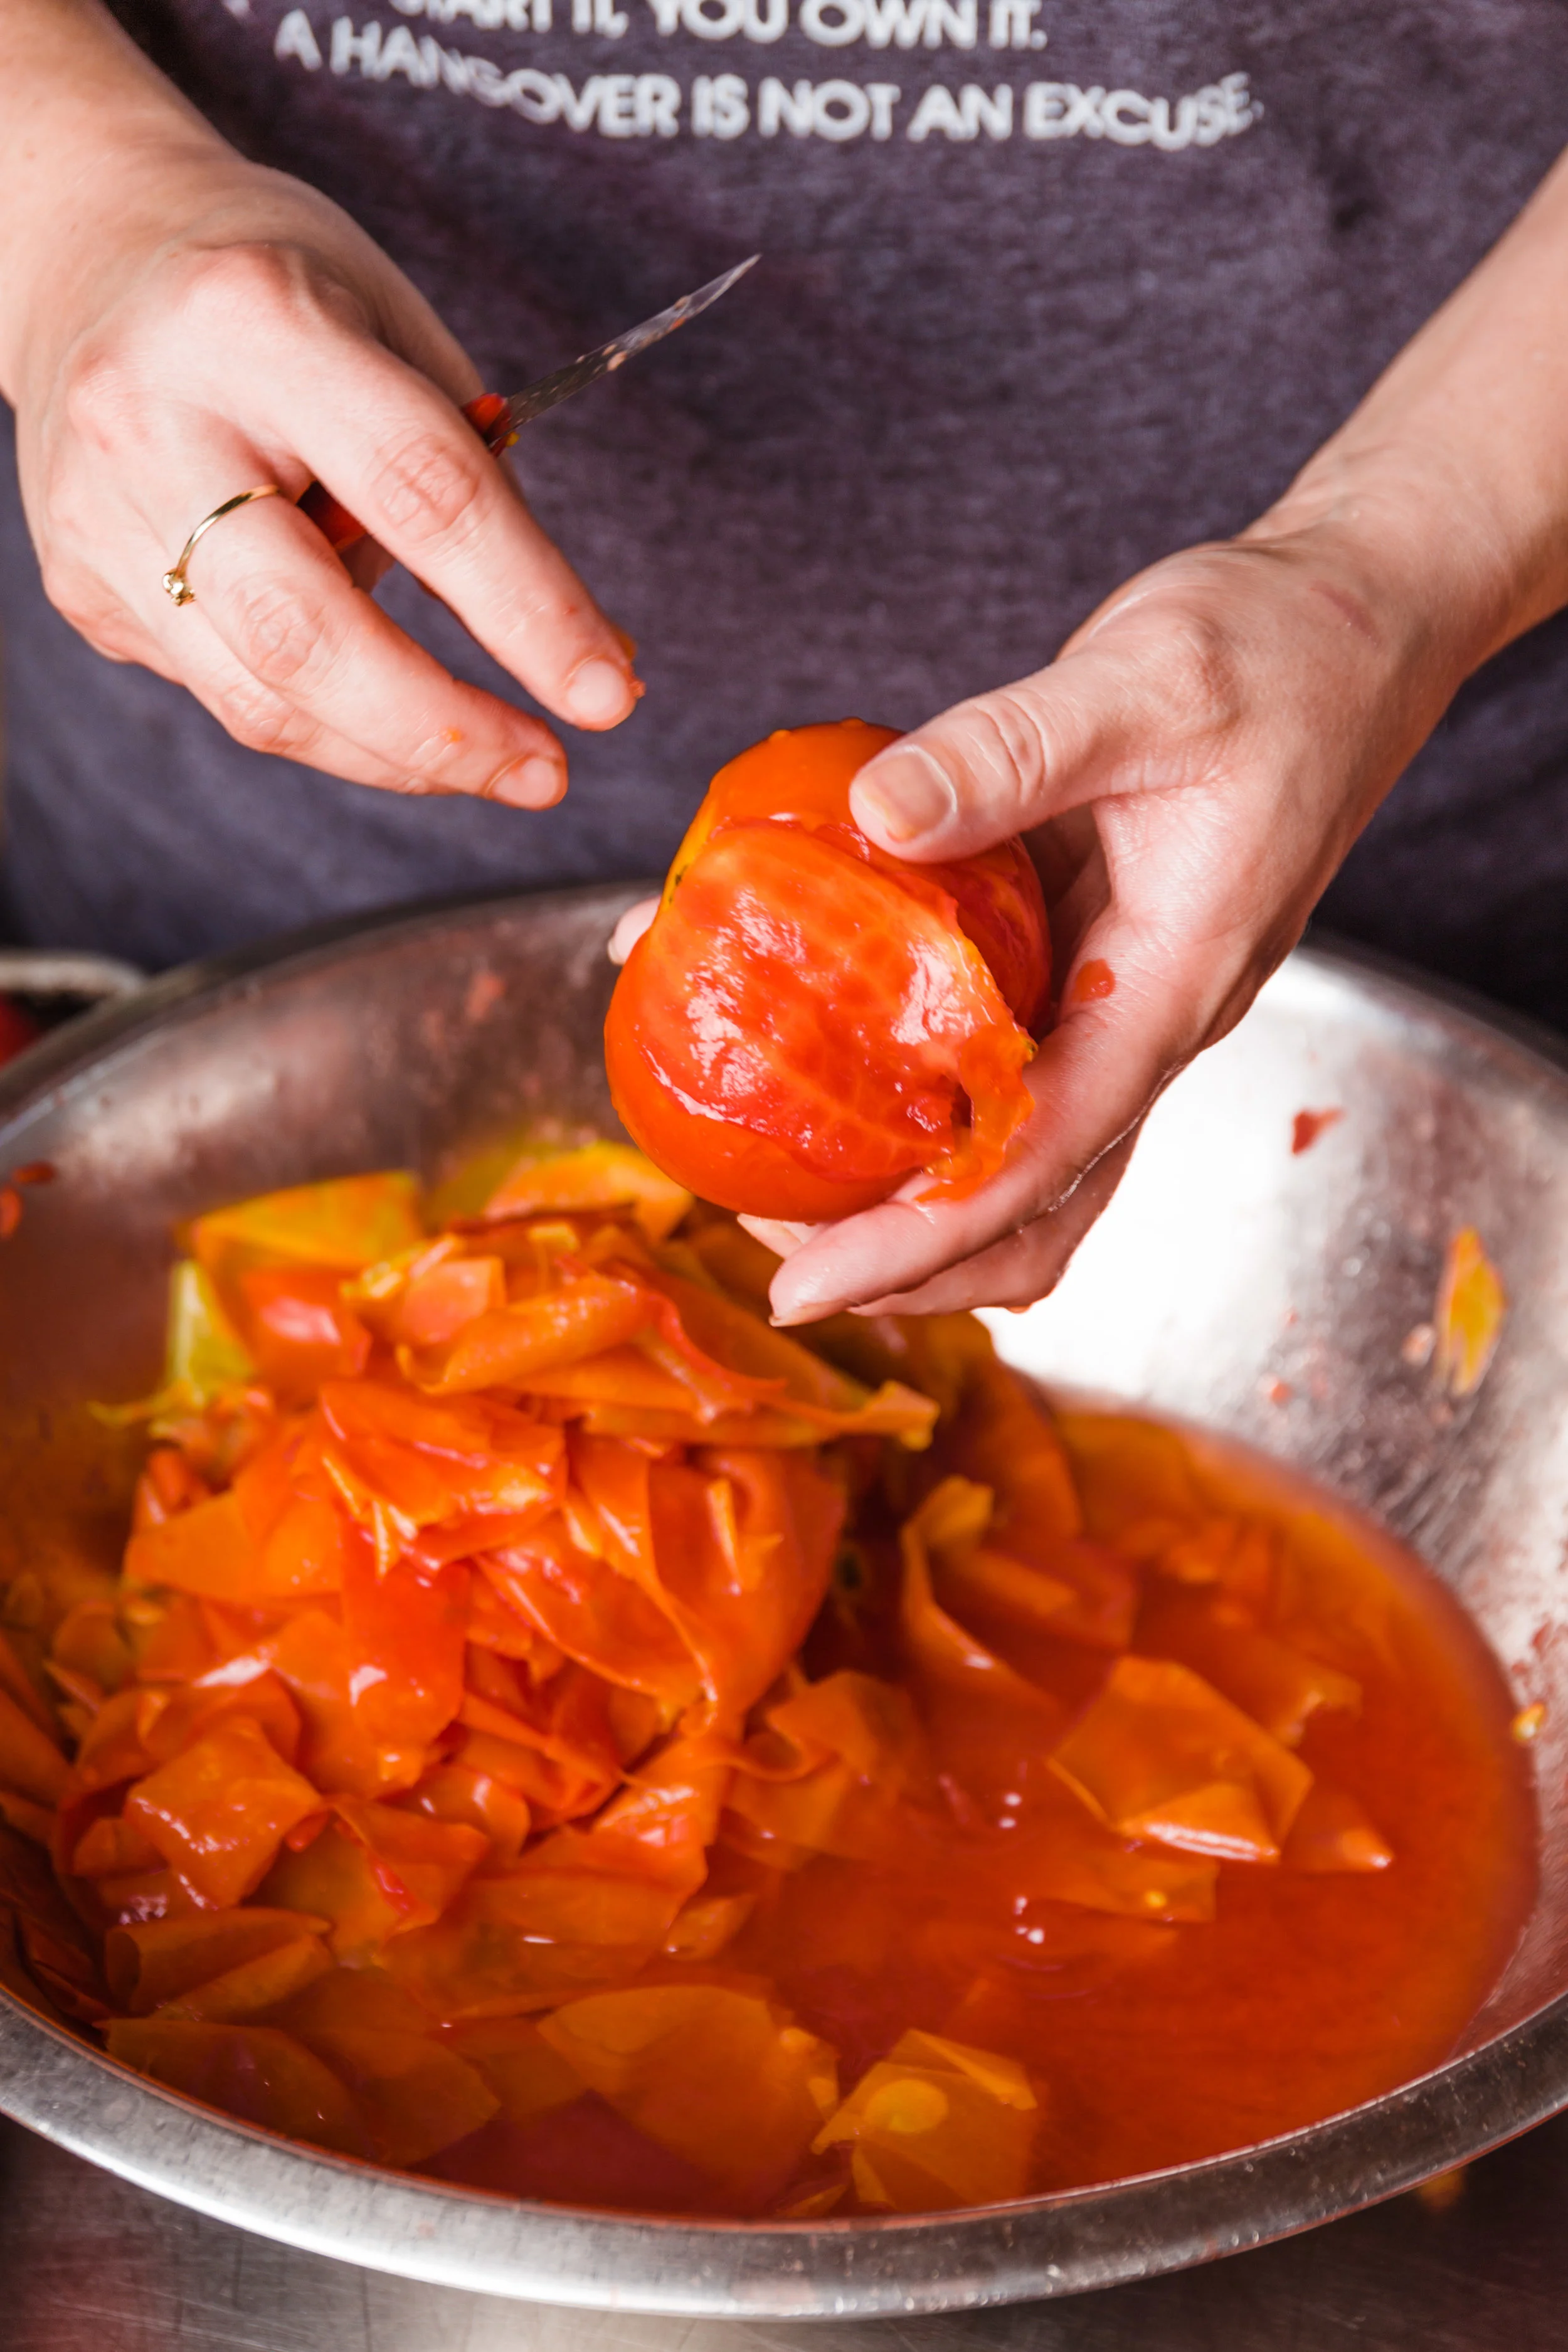
Peel the tomatoes and discard the skins. Cut each tomato into quarters and cut out the white, starchy core. Transfer the cored and quartered tomatoes to an 8- to 10-quart heavy-bottomed pot. Bring the tomatoes up to boil and skim off any scum that rises to the surface.
Meanwhile, sterilize your jars according to the instructions below (page 16 of DRR) and 1 tablespoon of lemon juice, 1 teaspoon of salt and 1 teaspoon of sugar per pint of tomatoes in the bottom of each jar. If you’re using quart jars, you’ll need to double those amounts.
Once the tomatoes have been at a rolling boil for about 3 minutes, fill the hot jars with hot tomatoes. Put the lids on and process in a hot water bath for 10 minutes.


How to Can in a Hot-water Bath
Glass preserving jars
2 piece lids
hot-water canner or a deep and wide saucepan with a lid and rack
a second deep and wide saucepan for sterilizing the jars
Ladle or a measuring cup with a handle
Jar lifter
A heavy-duty, slip-resistant hot pad
Jar funnel
Kitchen towels
Sterilize the jars: Fill your jars halfway with water and stand them up in a large deep pot. Fill the pot halfway with water and bring it up to just under a simmer. Keep the jars hot until you fill them, at least ten minutes. Hot foods needs to go into hot jars to prevent breakage. Alternatively, you could run the jars through your dishwasher and fill them while they are still hot from the cycle.
While the jars sit in the hot water, wash their lids and bands in hot soapy water or them through the dishwasher. Once sterilized, they can be at room temperature.
Fill and process the jars: Fill your canning pot halfway with water and bring it up to a simmer. Keep it covered and simmering until you’re ready to process your jars.
Remove the jars from the water using the jar lifter and the hot pad. Using the funnel, fill them with tomatoes, leaving half an inch of space between the product and the lid. I like to use a measuring cup with handle but a ladle also works well. Make sure whatever you put in the jars is hot. For instance, if you made a relish the day before, reheat it before canning.
Wipe the rim of the jar with a clean damp towel and secure the lid. If you have a traditional canning pot, pull the rack up and secure it on the sides of the pan. Place your filled jars on the rack, leaving about an inch of space between each jar. Once the rack is full, lower it into the pot. The water should cover the jars by at least one in and up to two inches. If you don’t have enough water, take some of the hot water from you sterilizing pot and adjust the level. Cover the pot and bring it up to a boil. Once it’s boiling, process for the time suggested in the recipe.
Cool and store: Once the jars are done, turn off the heat and lift up the rack. Secure it on the sides of the pot and let the jars rest for five minutes. Then remove the jars and place them upright on a kitchen towel, leaving at least an inch of space between them. Let them cool, undisturbed, for twelve hours.
After twelve hours, check the lids for a seal. If you are using an American-style canning jar, like Mason or Ball, press on the lid. If it moves up and down, you do not have a good seal. If it appears slightly inverted and doesn’t move with the pressure of your finger, it’s sealed. If you are using a European-style jar, such as a Weck, look at the red tongue of the rubber seal. On a properly sealed jar, it will point down. To test, take off the clamps and try to push the lid off with your finger. If you can’t do this, you have a safe seal.
If you do not get a good seal, you can refrigerate the product or reprocess.